|
Fabrication Process
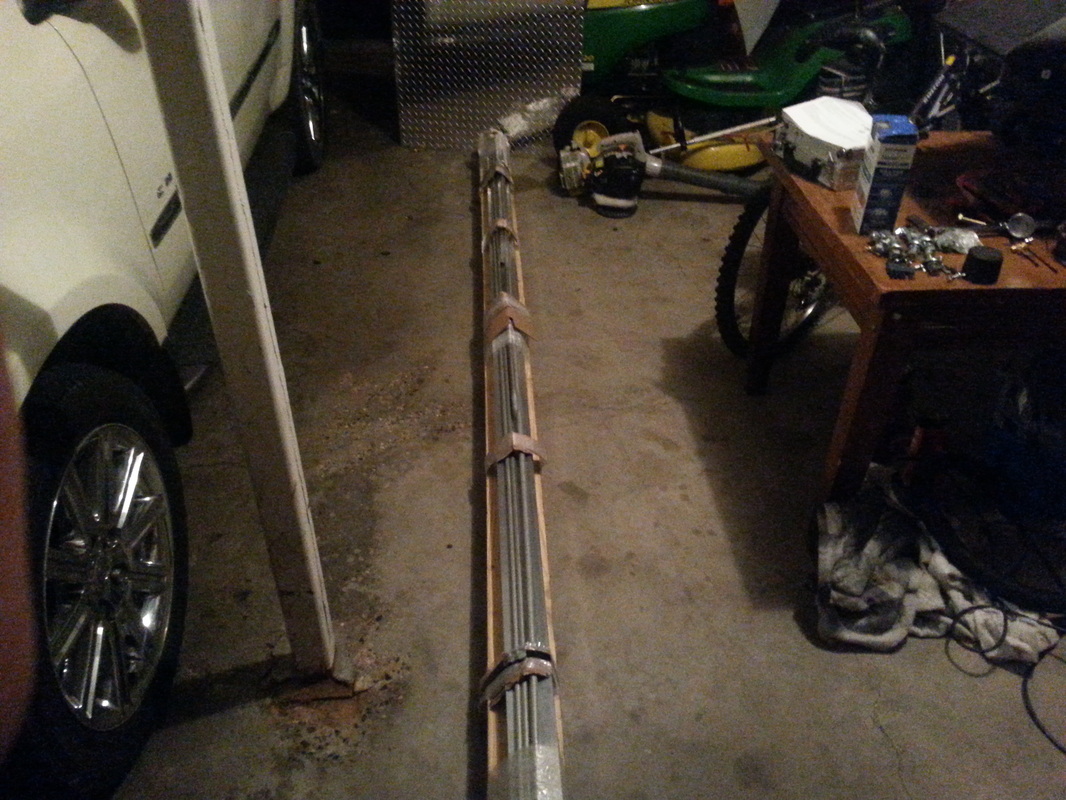
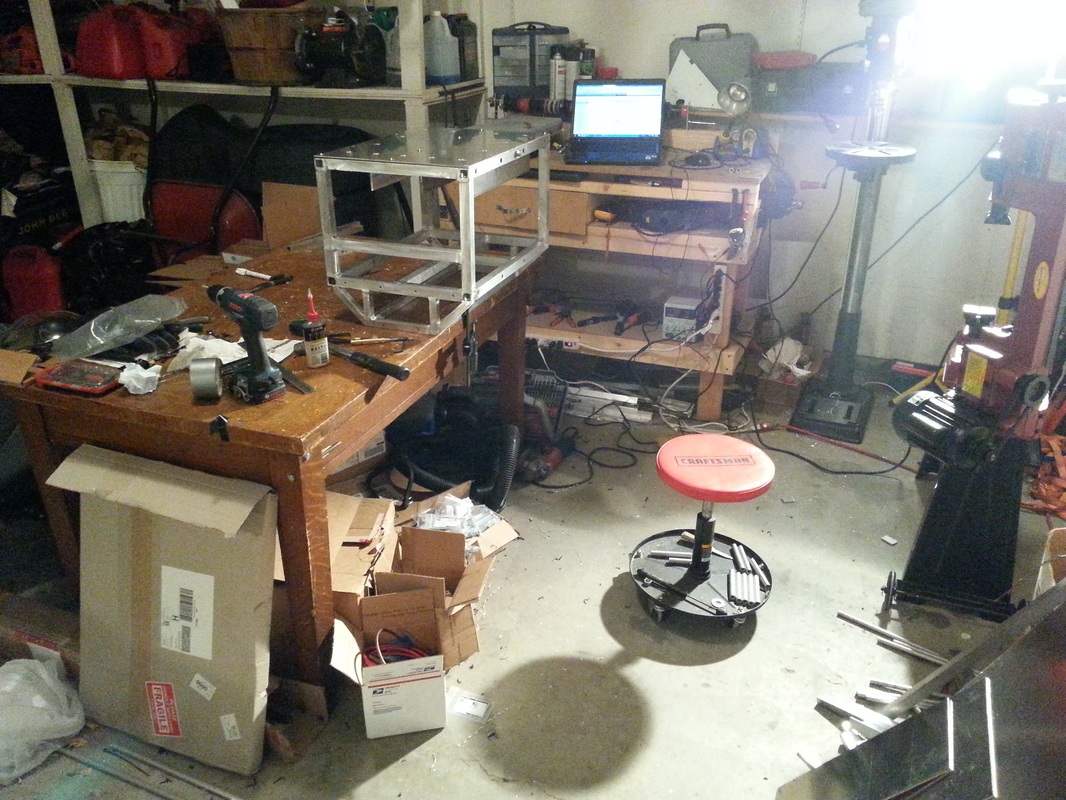
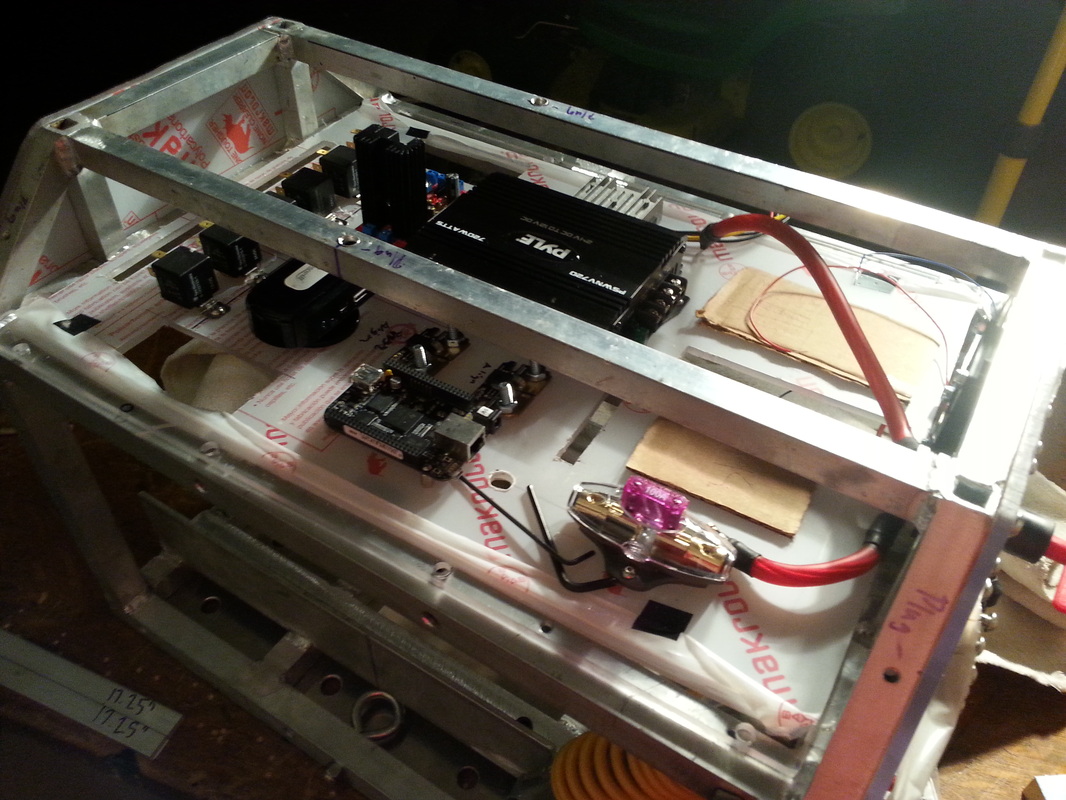
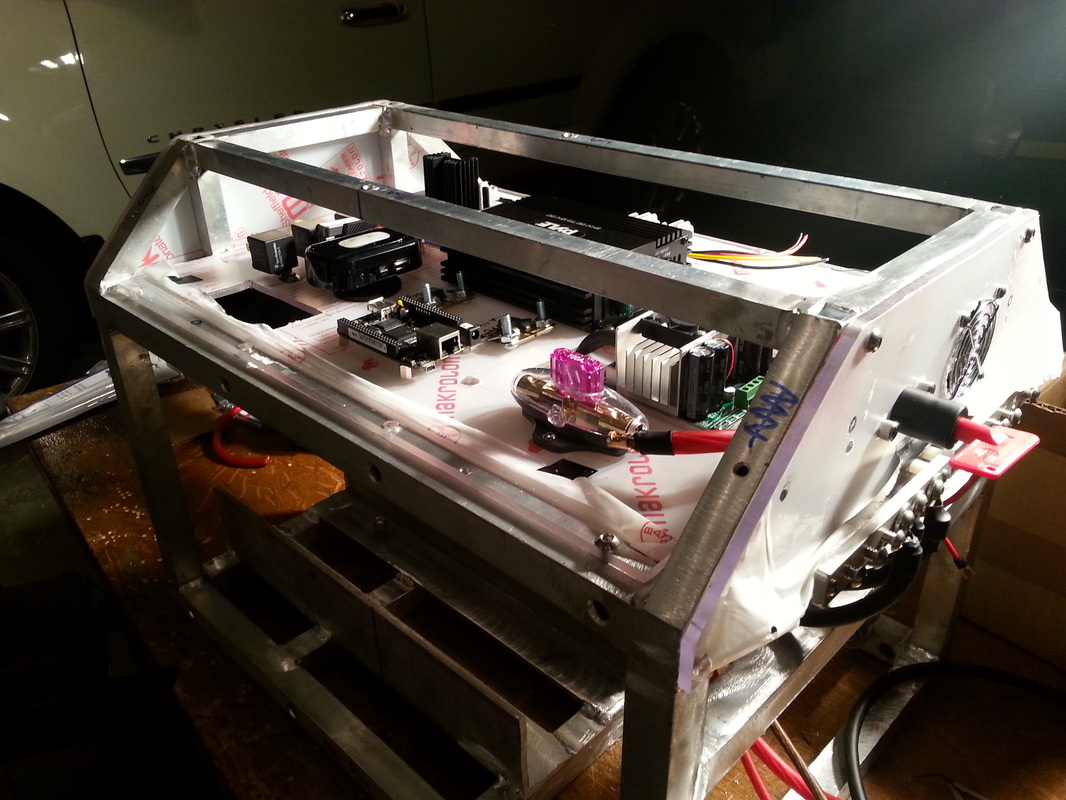
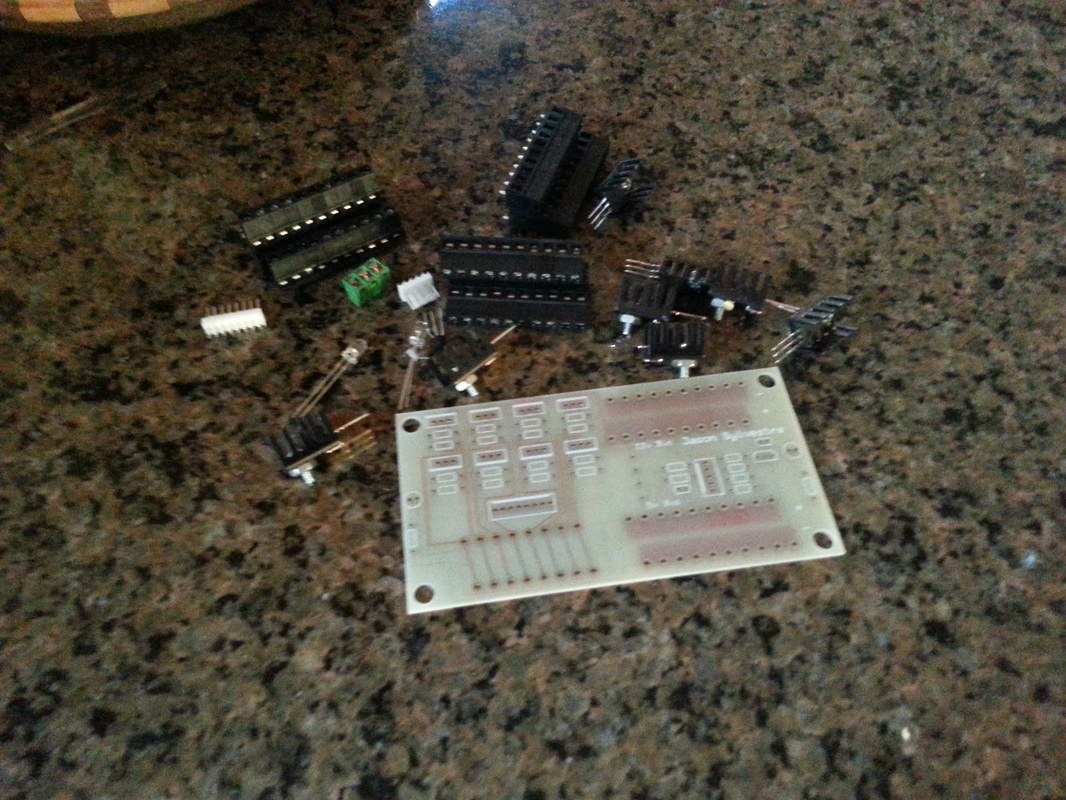
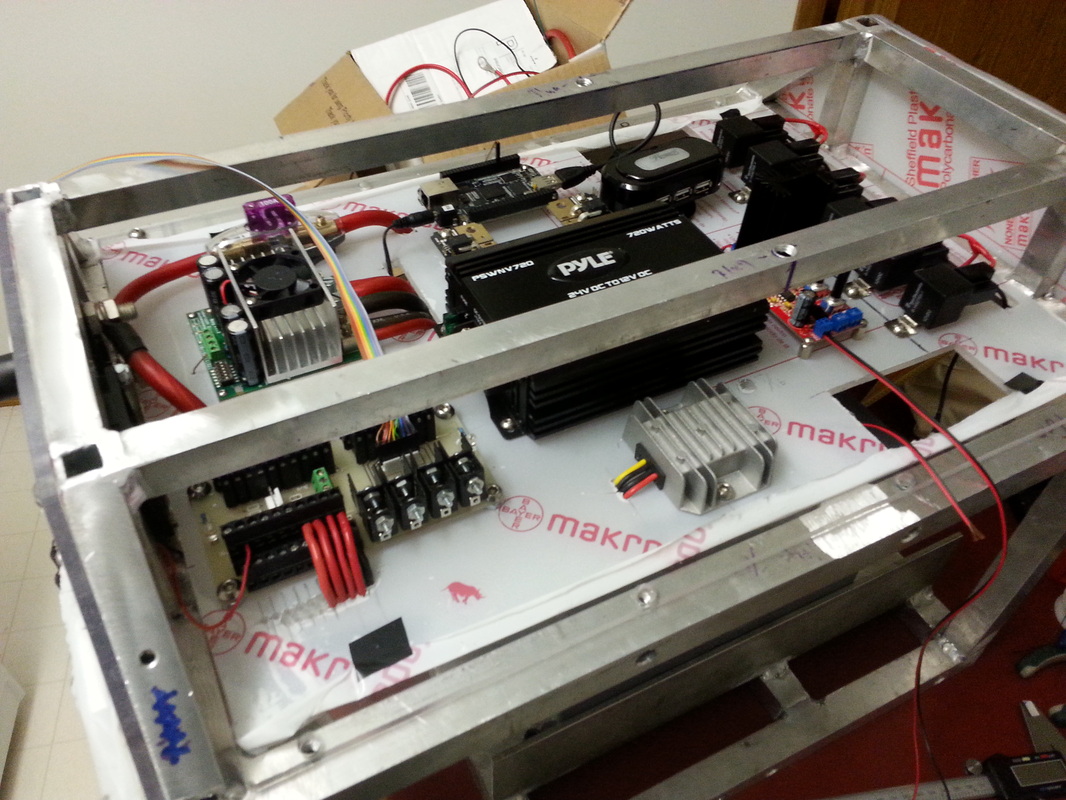
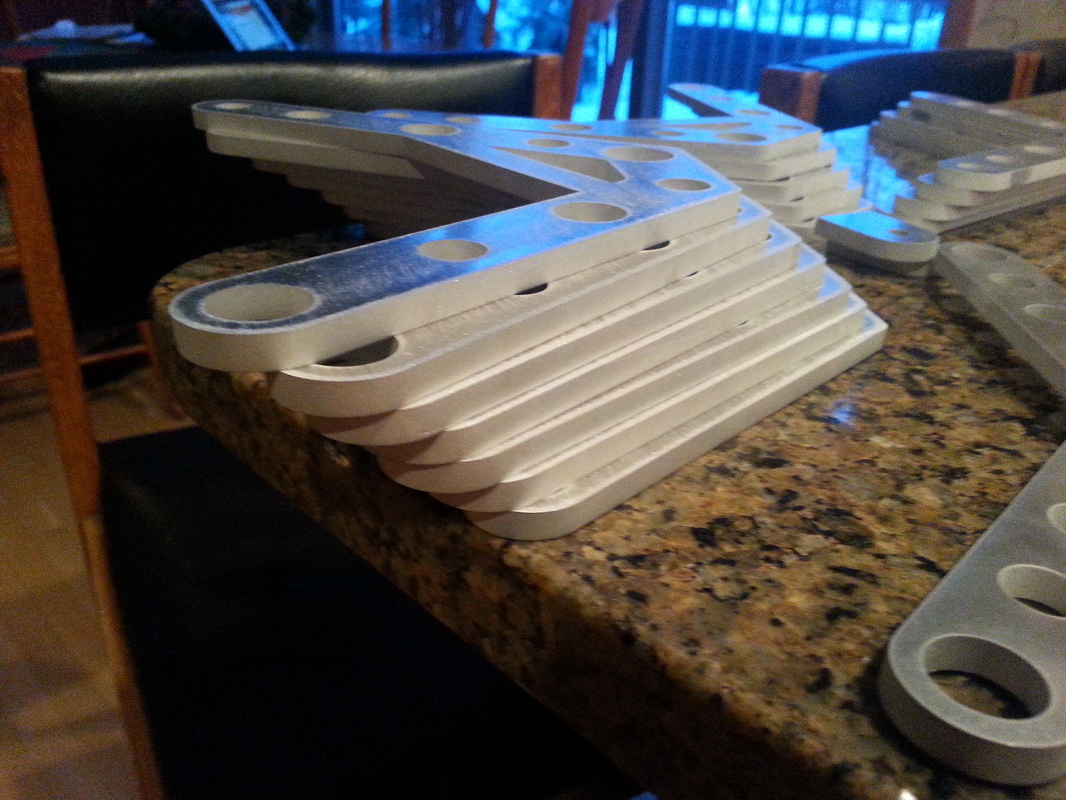
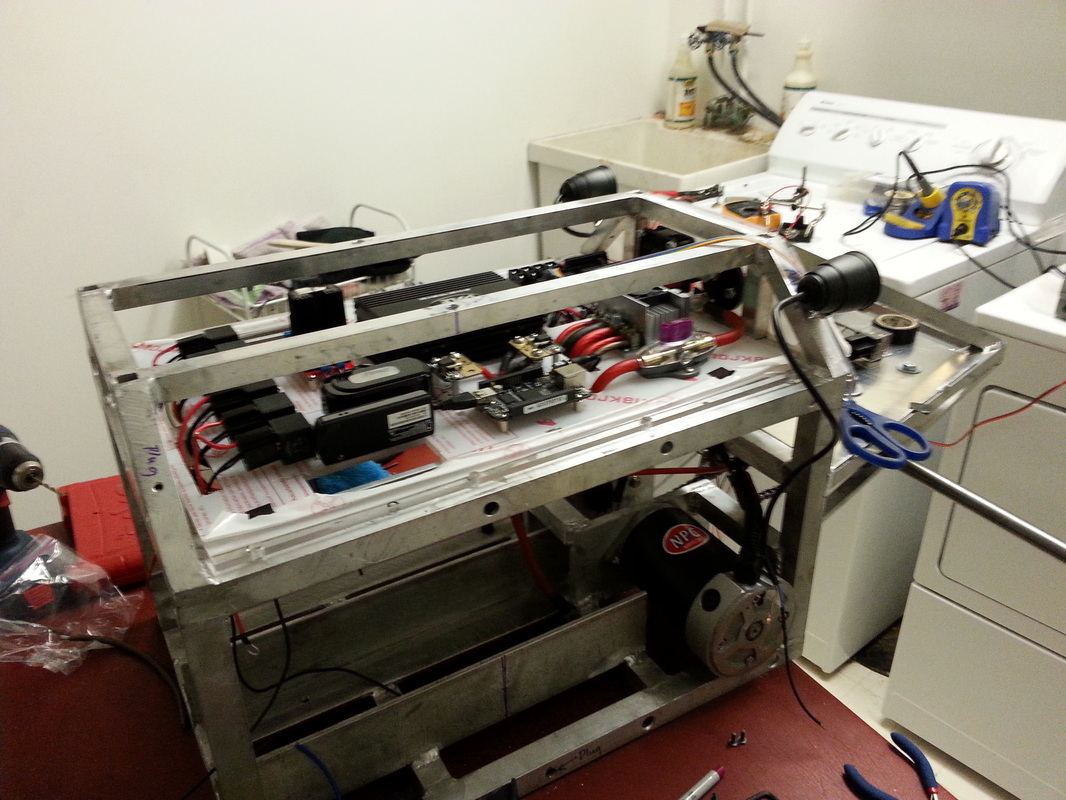
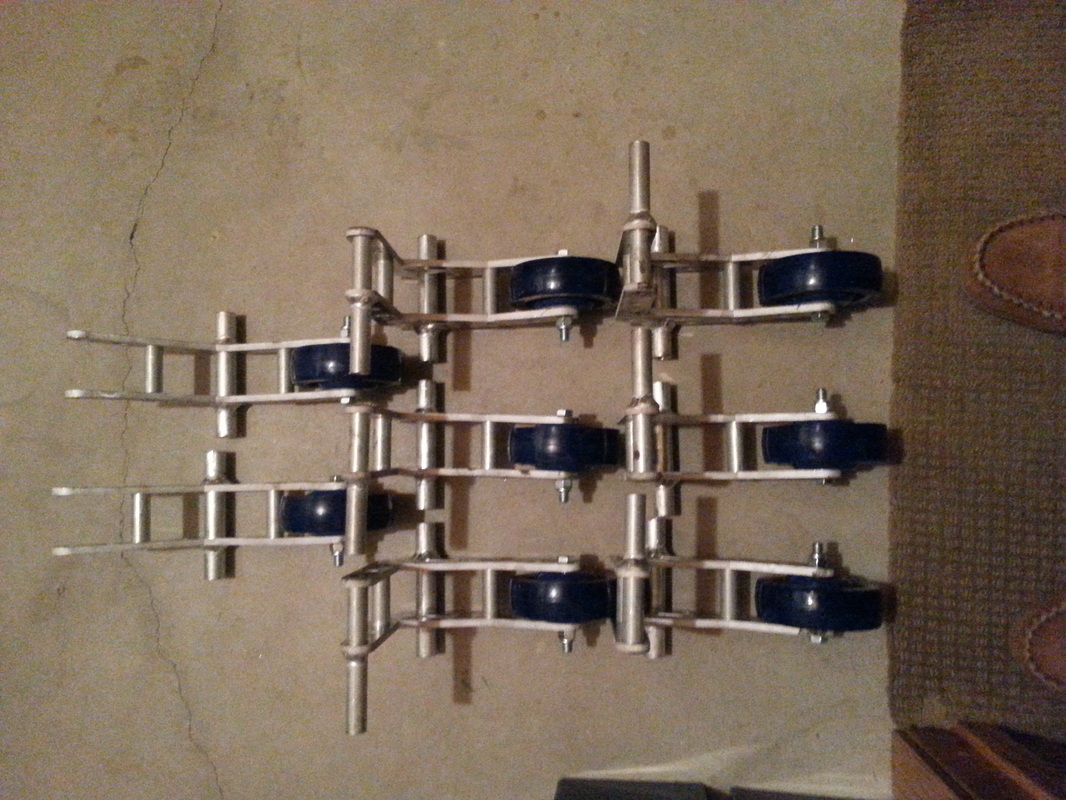
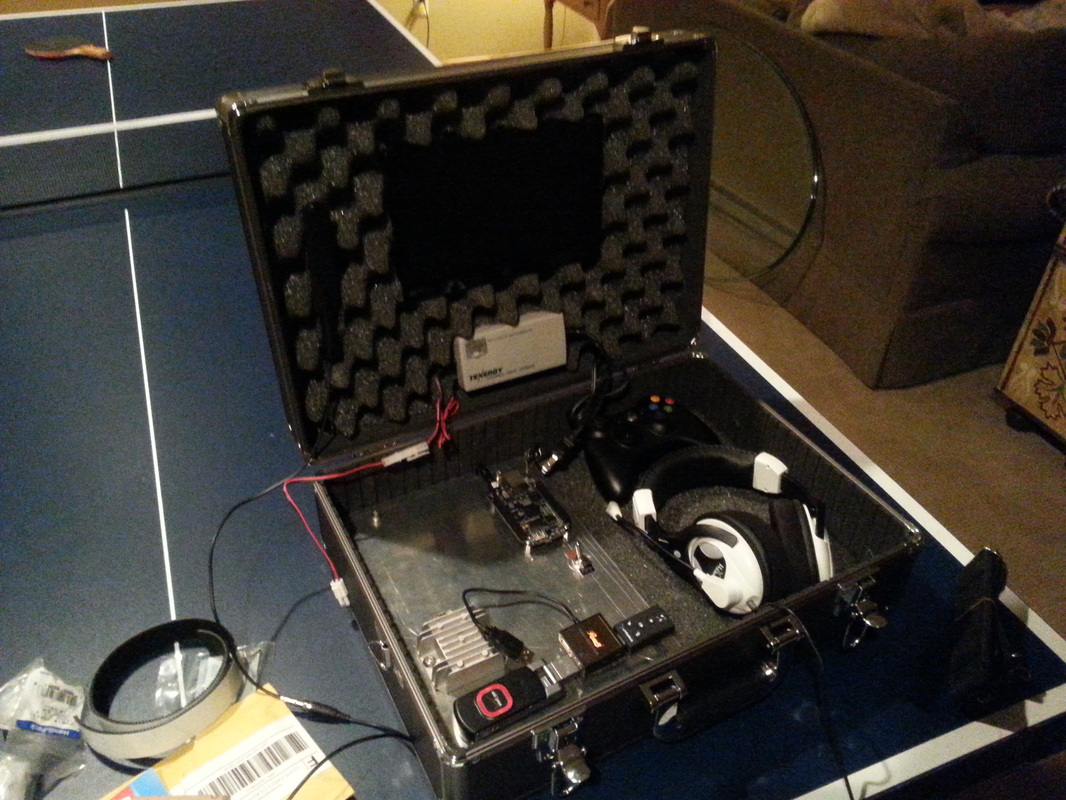
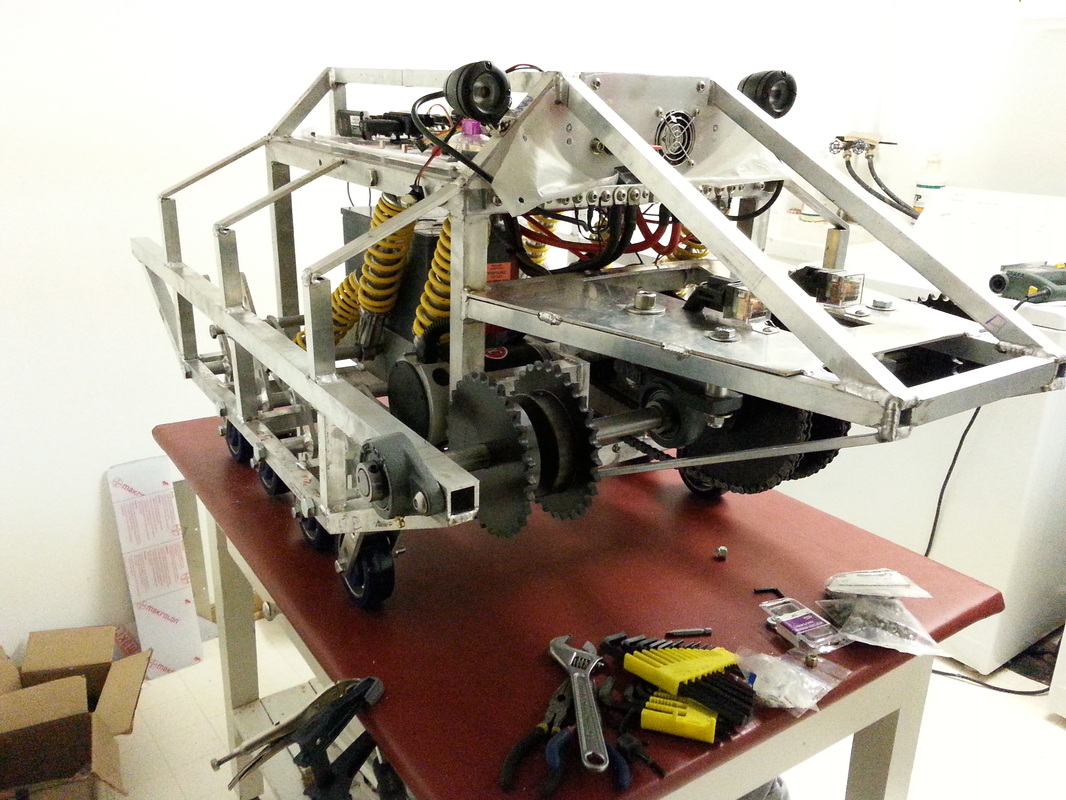
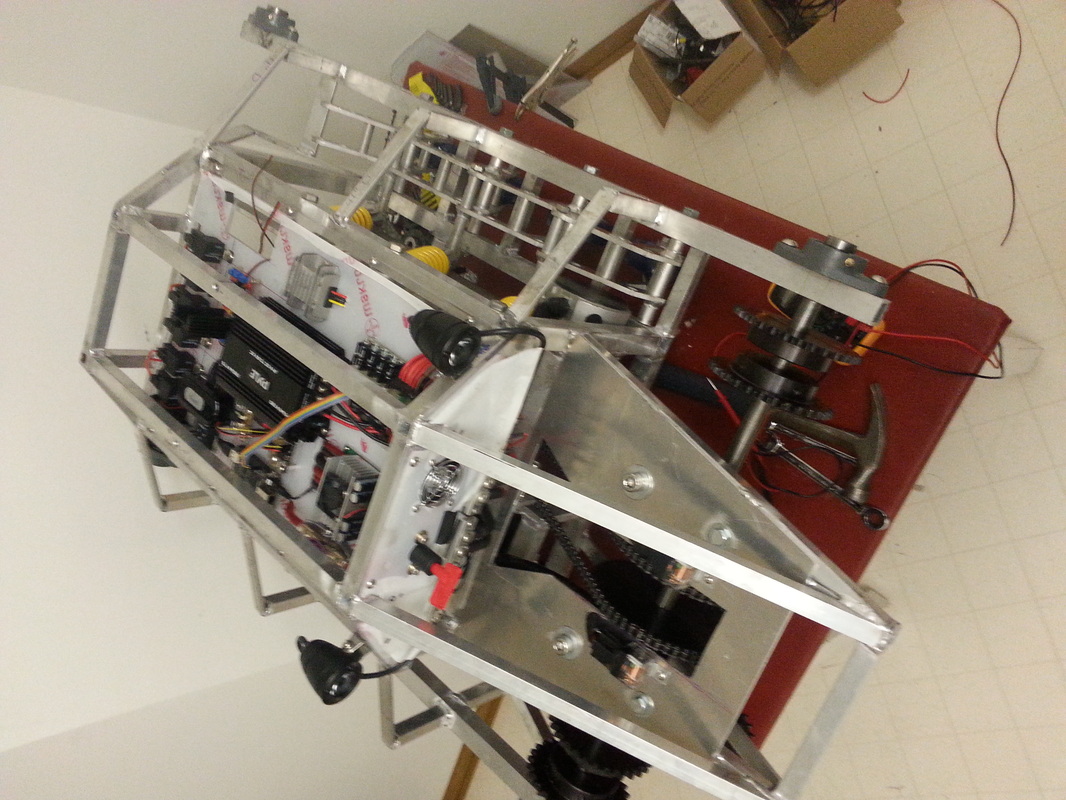
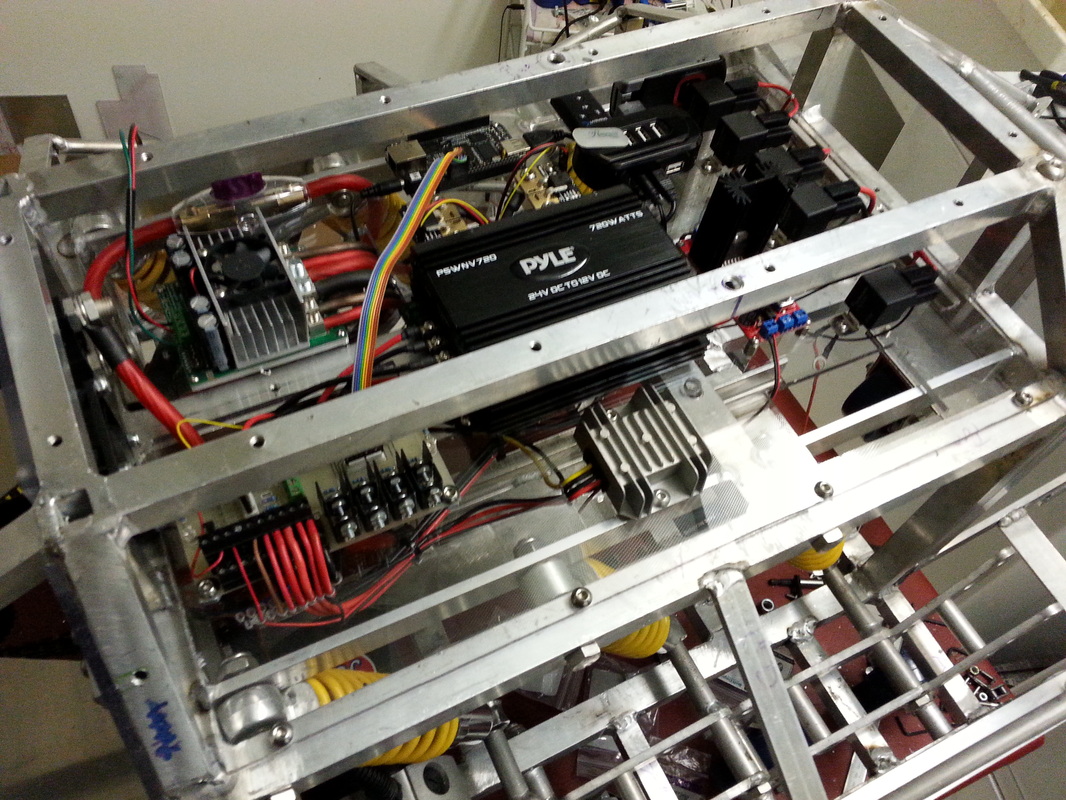
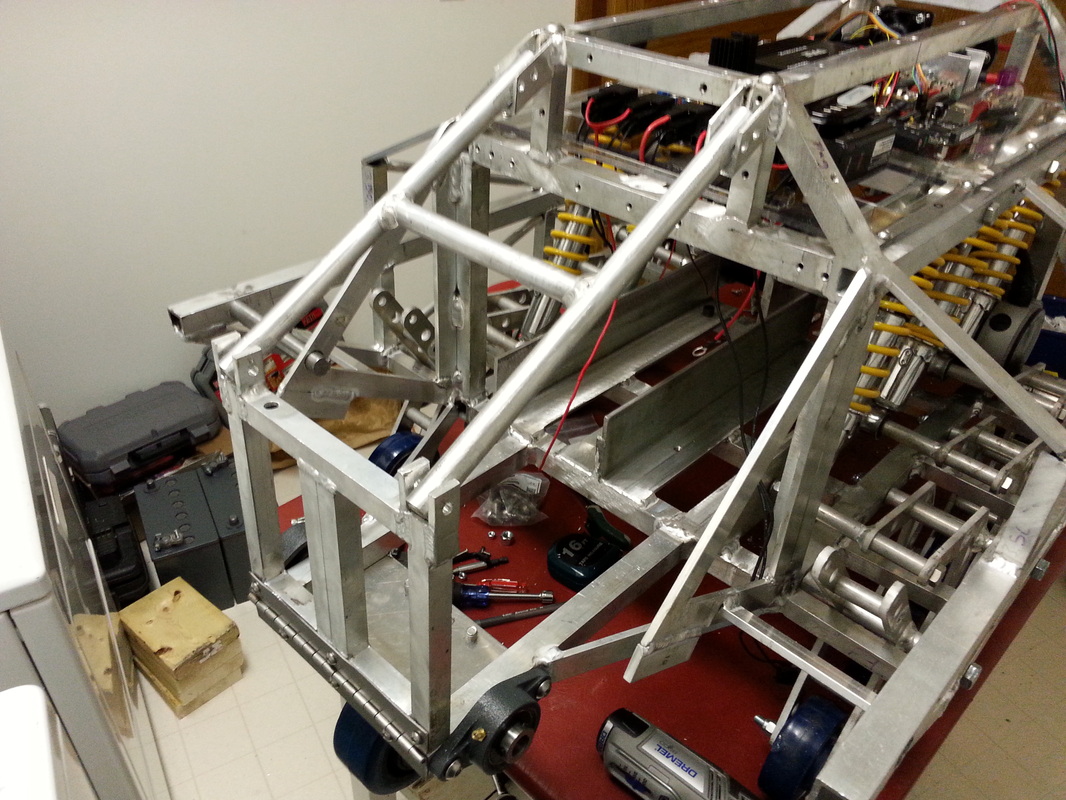
After I solidified my designs and found the components needed, I assessed the economic feasibility and determined that I would not be able to afford this project on my own. Luckily, Alliant TechSystems and Checker Machinery Incorporated saw the potential in my first iteration and offered to financially and technically support iteration two. The robot was fabricated in stages as you can see below where I simultaneously worked on installing the electronics while fabricating the frame. Mike Fleming, voluntarily helped me weld the frame after work hours so his time was limited. So I typically went to the fabrication shop 2-3 times during the week to oversee welding of the frame and then worked on the electronics during the weekend. Core Steps In Procedure 1) Weld rectangular prism. This is the main structure that everything else branches off of. 2) Mount Lexan with electronics 3) Weld motor mounts and battery rails 4) Weld tapered front 5) Wire circuitry and install drivetrain 6) Test with potentiometer hooked up to motor driver to ensure circuitry and drivetrain are functioning properly 7) Revise drivetrain to eliminate any significant inefficiencies (friction) 8) Weld the outer assemblies that support the tracks 9) Send designs to fabrication shop to get suspension arms waterjet cut 10) Weld suspension arms and bolt on the wheels 11) Install shock absorbers and doglegs onto the frame 12) Assemble the tracks 13) Mount the tracks and test the functionality of the tracks system off ground 14) Make revisions to the track system to ensure optimal efficiency 15) Test robot on ground and record video of its performance |
|